WordPress website media library clean up guide:
In the process of making a website, there may be a phenomenon of debugging different pictures. With the deepening of the design, more and more abandoned pictures will appear. In this case, we may need to delete those pictures that are not in the media library. If it is deleted manually, it may be more troublesome. At this time, if there is automated software, it will save much trouble.
Why clean up the WordPress media library?
WordPress will create multiple copies of each image uploaded to the website. WordPress themes and plugins may also require other image sizes. In addition to these image sizes, the user may end up uploading a lot of images that are not actually used on the website.
These media files take up disk space on the WordPress hosting server. They will also increase the WordPress backup size, which means that it takes longer to backup, transfer, and restore the website. If you have been running a WordPress website for some time, you can benefit from cleaning up the WordPress media library.
Having said that, let’s see how to easily clean up the WordPress media library. Note: You will clean up unused media files by permanently deleting them. This operation cannot be undone. Before proceeding, please make sure you have a complete WordPress backup.
Use Media Cleaner plugin
Media Cleaner plugin is a free WordPress plugin. It will clear the media library from unused media entries (and files) and damaged entries on the WordPress website. The internal trash can allow the user to ensure that everything is working properly before permanently deleting media entries (and files). It uses intelligent analysis supported by many implementations to handle specific plugins and themes. Before using this plugin, please make sure that you have properly installed the backup. This step is not optional; it is required. Do not trust any tools that modify or delete files.
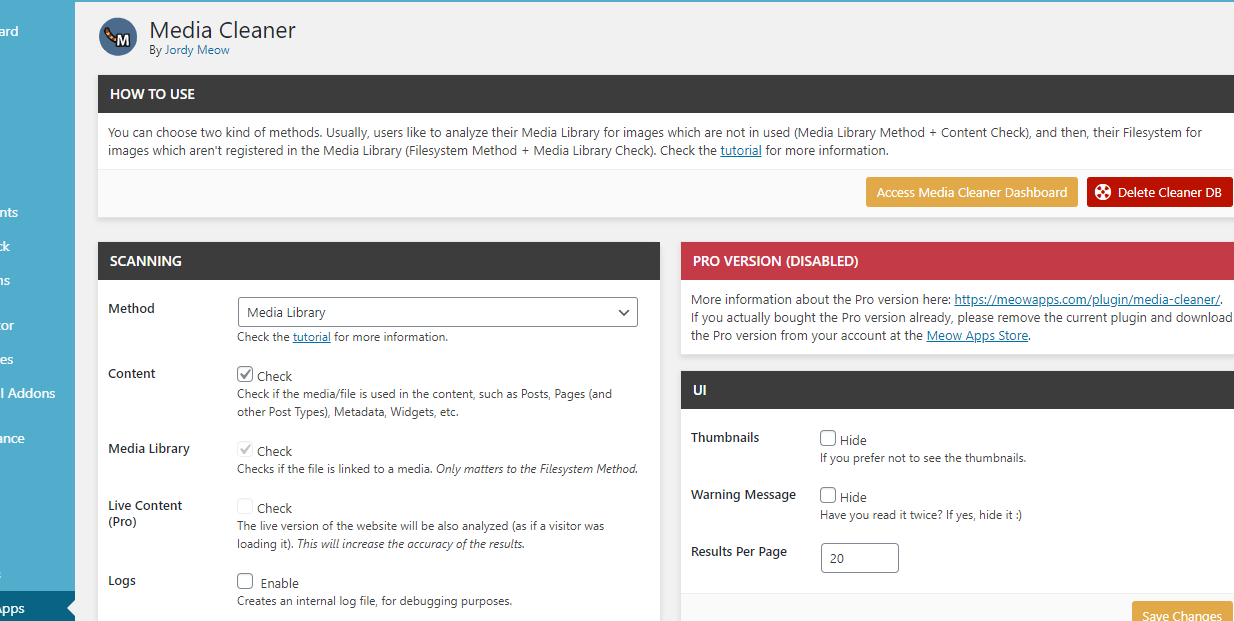
First, all you need to do is install and activate the Media Cleaner plugin. After activation, go to the Media »Cleaner page to analyze your WordPress media library. The plugin may ask you to reset itself, in the process, it will create a new table in the WordPress database to store the data. After that, click the Access Media Cleaner Dashboard then Start Scan button to run the media analysis.

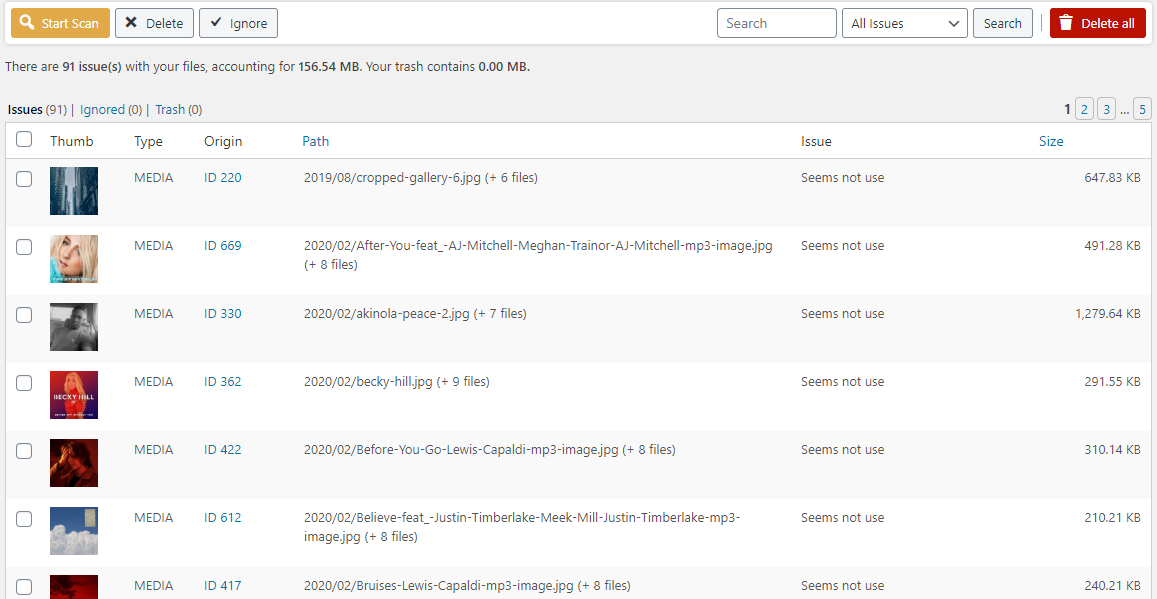
Media Cleaner will now look for files in your media library and WordPress posts/pages. It will try to find files in the media library that are not used on the website. This may take a while, depending on the size of the media library and the content contained. When finished, a list of results is displayed. It will display all media files that are not currently used on the website.

Now select the files you do not want to keep and delete them. Also, click the Delete All button to delete all unused media files immediately.
Optimize media files
Now after processing the duplicate images on the website, the next step is to optimize the existing media files. Many beginners upload images directly from mobile phones and cameras. The file size of these high-quality images is usually too large. They take up disk space, increase backup size, and affect the speed and performance of WordPress. Use Highcompress Image Compressor plugin to automatically optimize media files without degrading quality.


